Indications
- Patients with the first episode of primary spontaneous pneumothorax (i.e. no evidence of underlying lung disease) and
- Breathlessness or pneumothorax >2cm at the level of the hilum
Contraindications
- Traumatic pneumothorax
- Tension pneumothorax or haemodynamic instability
- Underlying pulmonary disease
- Recurrent pneumothorax
- Bilateral pneumothorax
- Bleeding disorders
Complications
- Subcutaneous emphysema
- Lung laceration
- Air embolism
- Infection
- Bleeding
- Technical failure
- Persistent air leak
Equipment
- A 16-gauge or 18-gauge iv cannula
- Tubing with a three-way stopcock
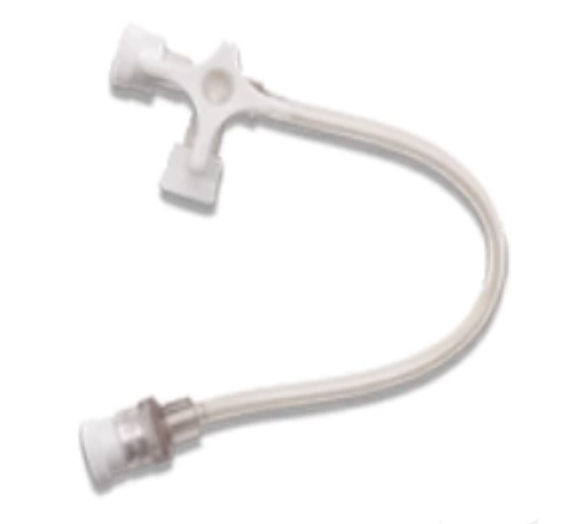
- Perhaps a cannula extension set and three way tap would work as well
- A 50mL or 60mL syringe
- For anaesthesia
- Lidocaine 1% or 2%
- A 10 mL syringe
- 22 gauge and 25 gauge needles
- Sterile gloves and gown
- Face mask
- Chlorhexidine or other antiseptic solution
- Sterile preparation kit
- Sterile drape
- Skin marker
Procedure
- Obtain written consent
- Confirm no allergies to lidocaine
- Confirm right or left sided pneumothorax
- Place the patient at a semi-supine position at a 30-45° angle to allow the air to collect at the apex
- Administer oxygen and begin monitoring
- Obtain IV access
- Provide the patient with a face mask
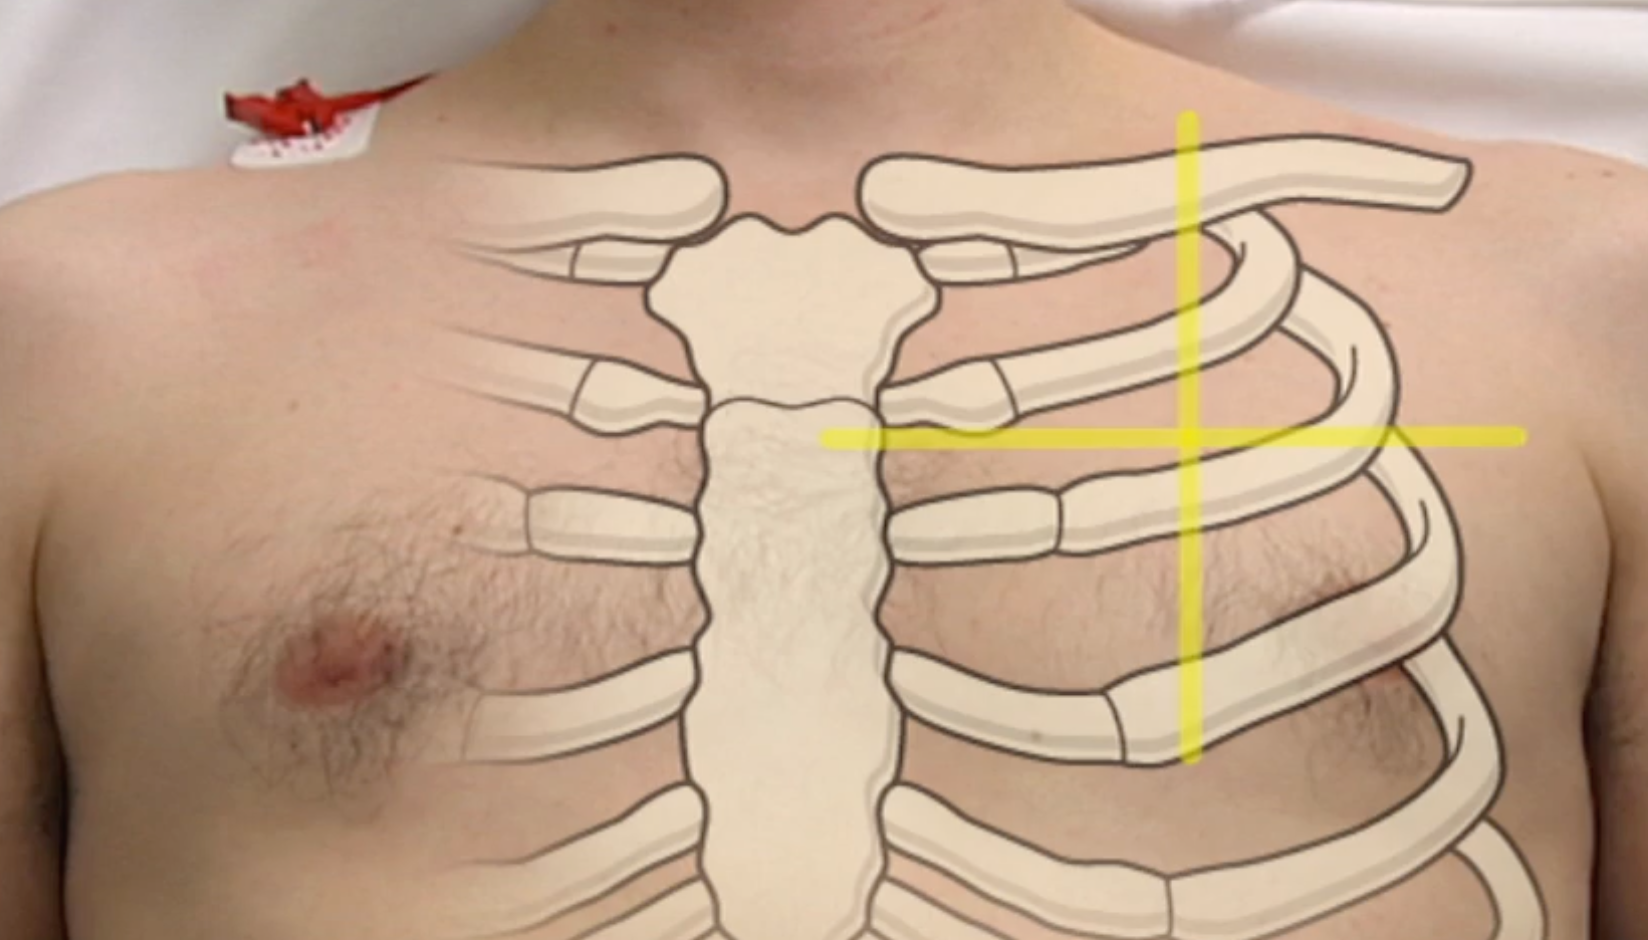
- Identify landmarks
- Preferred insertion site is the 2nd intercostal space at the mid clavicular line
- Locate the 2nd and 3rd rib; the 2nd rib is the first palpable rib under the clavicle
- Identify the middle of the clavicle
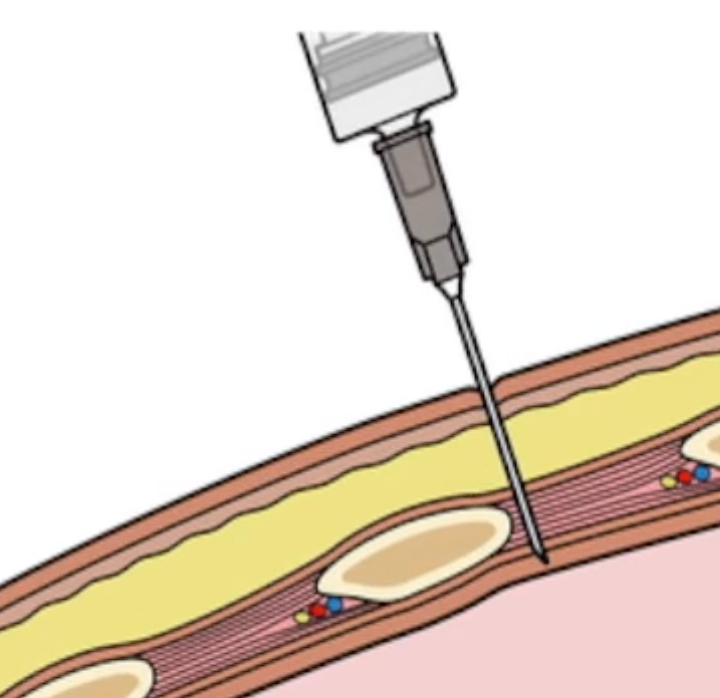
- Aim for insertion point just above the 3rd rib to prevent injury to the subcostal vessels and nerves
- Mark the site with a skin marker
- Gown up
- Use chlorhexidine to clean the area of aspiration
- Position the sterile drape
- Aspirate lidocaine into the 10mL syringe
- Use the 25 gauge needle to create a weal of the local anaesthetic
- Use the 22 gauge needle to anaesthetist the deeper layers of tissue by inserting perpendicular to the skin
- Continue inserting until air bubbles appear as you aspirate
- Before you remove the needle, note the depth of the needle
- Connect the 10mL syringe containing the remainder of the local anaesthetic to the IV catheter
- Puncture the skin using the same landmark and technique as before continuing to aspirate until air bubbles
- Move the needle forward a few milimetres
- Ask the patient to exhale or cough (prevents air being sucked into the pleural cavity)
- Remove the catheter needle and syringe and immediately cover the opening of the catheter with your finger
- Attach the tubing with the three way stop cock to the catheter
- Use the 20 or 50 mL syringe to evacuate the air
- Evacuate the air through the side port of the stop cock
- Measure the volume of air that is evacuated
- If more than 2.5L is evacuated, stop the procedure as this suggests an air leak
- Remove the catheter
- Place a sterile dressing
- Obtain a repeat chest X-ray
- Can be ready for discharge 6 hours post, provided symptomatically better and repeat chest X-ray shows improvement of the pneumothorax